
How to Get an Ethereum Project ID with Infura
As a developer working on an Ethereum-based project, you will need to interact with various Ethereum services, including the InterPlanetary File System (IPFS) and the Ethereum Virtual Machine (EVM). To connect to these services, you need a valid Ethereum Project ID. In this article, we will guide you through the process of obtaining an Ethereum Project ID with Infura.
Requirements
Before you begin, make sure you have:
- A verified Ethereum wallet with an existing public address.
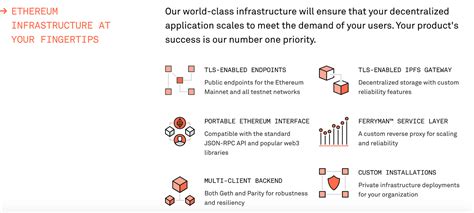
- An account with Infura, which offers a free Ethereum testnet for testing and development.
- Familiarity with Ethereum wallets, blockchain networks, and the Ethereum Virtual Machine (EVM).
Step 1: Create an Ethereum Wallet on Infura
To begin the process, you need to create an Ethereum wallet in Infura’s testnet environment. Follow these steps:
- Go to [Infura]( and create a new account.
- Click “Testnets” in the top menu bar and select the Ethereum testnet (mainnet is not recommended for production use).
- Click “Create Wallet” and follow the instructions to create an Ethereum wallet.
- Choose a wallet type (e.g. MetaMask or Truffle) and configure your public address.
Step 2: Get the Ethereum Project ID
To get the Ethereum Project ID, you need to create a new resolver configuration in @veramo/core using Infura’s createAgent function. You also need the ethr-did-resolver library, which provides an easy way to interact with IPFS and EVM services.
Here is an example code snippet:
“javascript”
import { createAgent } from “@veramo/core”;
import {DIDResolverPlugin} from “@veramo/did-resolver”;
import { getResolver as ethrDidResolver } from ‘ethr-did-resolver’;
const projectID = ‘PROJECT_ID_HERE’; // Replace it with your Ethereum project ID
const agentConfig: CreateAgentConfig = {
projectId: projectID,
networkName: ‘mainnet’, // You can use the testnet, but it is not recommended for production
};
const resolverConfig = { …getResolver as IResolver };
resolverConfig.infuraUrl =
const agent = createAgent(agentConfig);
Replace
YOUR_PROJECT_ID_HERE' with your current Ethereum project ID.ethr-did-resolver
Step 3: Use the resolver configuration to connect to IPFS and EVM servicesWith the resolver configuration, you can now connect to IPFS and EVM services using
. Here is an example code snippet:
javascript
import { IResolvers } from 'infura-node';
import { getResolver as ethrDidResolver } from 'ethr-did-resolver';
const projectID = 'YOUR_PROJECT_ID_HERE'; // Replace it with your Ethereum project ID
const resolvers: IResolvers = {};
const resolverConfig = { ...ethrDidResolver };
resolverConfig.projectId = projectID;
const resolver = getResolver(resolvers, resolverConfig);
`
This code sets up anIResolversobject and uses thegetResolver as ethr-did-resolverfunction to create a resolver configuration. ReplaceYOUR_PROJECT_ID_HERE` with your current Ethereum project ID.
Conclusion
By following these steps, you have successfully obtained your Ethereum project ID with Infura. This allows you to connect to IPFS and EVM services for testing and development purposes. Don’t forget to use this configuration in your production-ready codebase. If you have any more questions or need help integrating your Ethereum project with other blockchain services, let us know!